
 Yahoo Movies
 5 Ways To Winterize Your Home
For anyone who survived 2020, it might seem hard to believe that 2021 is already creeping toward its 11th month. But believe it or not, snow and ice are only weeks away for much of the country. That leaves you time to get your home ready for the coming onslaught — but not much time. If your budget or your calendar leave room for only a few projects, the following winterization musts are a good place to start.
Important: 20 Home Renovations That Will Hurt Your Home’s Value
Find Out: Should You Refinance Now With the Low Mortgage Rates?
Have a Contractor Air Seal Your Home — or Do It Yourself
The U.S. Dept. of Energy (DOE) suggests that homeowners hire professionals to conduct energy assessments, or energy audits, on their houses. For the more ambitious types, the agency also outlines how to conduct a DIY audit. One of the most common recommendations from contractors who conduct energy audits, according to the DOE, is full-home air sealing.
The goal is to eliminate air transfer points in critical areas like behind switch plates, around dryer vents and ducts, and in the holes where plumbing and electrical wires come into the house. The national average cost to have it done professionally is $1,450 for a 1,500-square-foot house, according to Fixr, but most of it involves skills that are realistically learnable — most importantly, caulking and installing weatherstripping. You’ll probably miss things that a professional contractor would spot, but a decent DIY job will go a long way to keeping you warm in the winter.
Read: Real Estate Investing Guru Mindy Jensen Says To Avoid These Types of Properties
Add Insulation in Key Locations
Full-home air seals are the No. 1 energy audit recommendation, according to DOE. Adding insulation is No. 2. The most important places to add insulation, in this order, are:
Unfinished attics and attic access doors
Attic rooms
Exterior walls and walls between living spaces and unheated areas like garages
Floors above unconditioned areas like crawl spaces
Heated basements
Unlike caulking and weatherstripping, installing installation is not work that most people can do themselves. For all but the handiest of homeowners, choosing the right kind of insulation for the right application and installing it the right way in the right parts of the home is a job for the pros.
Here’s a look at the national average cost for installing the most common types of insulation, according to Home Advisor:
Blown-in: $1,508
Batt, rolled, or reflective: $1,743
Spray foam: $2,552
Check Out: 32 Insider Tips for Buying and Selling a House
Install Insulation Film If You Can’t Afford New Windows
Energy Star-rated vinyl windows with double-paned glass reduce thermal transfer to a trickle and save homeowners between $101-$583 per year compared to single-pane, according to the DOE. They also eliminate 1,006-6,205 pounds of CO2 annually — that’s the equivalent of between 51-317 gallons of gasoline. The problem is, the average cost is $550 per window, according to Modernize.
Those who don’t have a few grand to drop on windows should consider insulation film. Amazon sells highly rated DIY kits that let you do three windows for less than $10. The plastic film is visible and it isn’t pretty, and some light prep work is required for installation, but it does dramatically reduce heat transfer in the coldest months. You’ll save money on energy bills, which you can then save for legit vinyl double-panes — and even they will eventually pay for themselves.
Don’t Miss: Common Real Estate Myths That You Need To Know
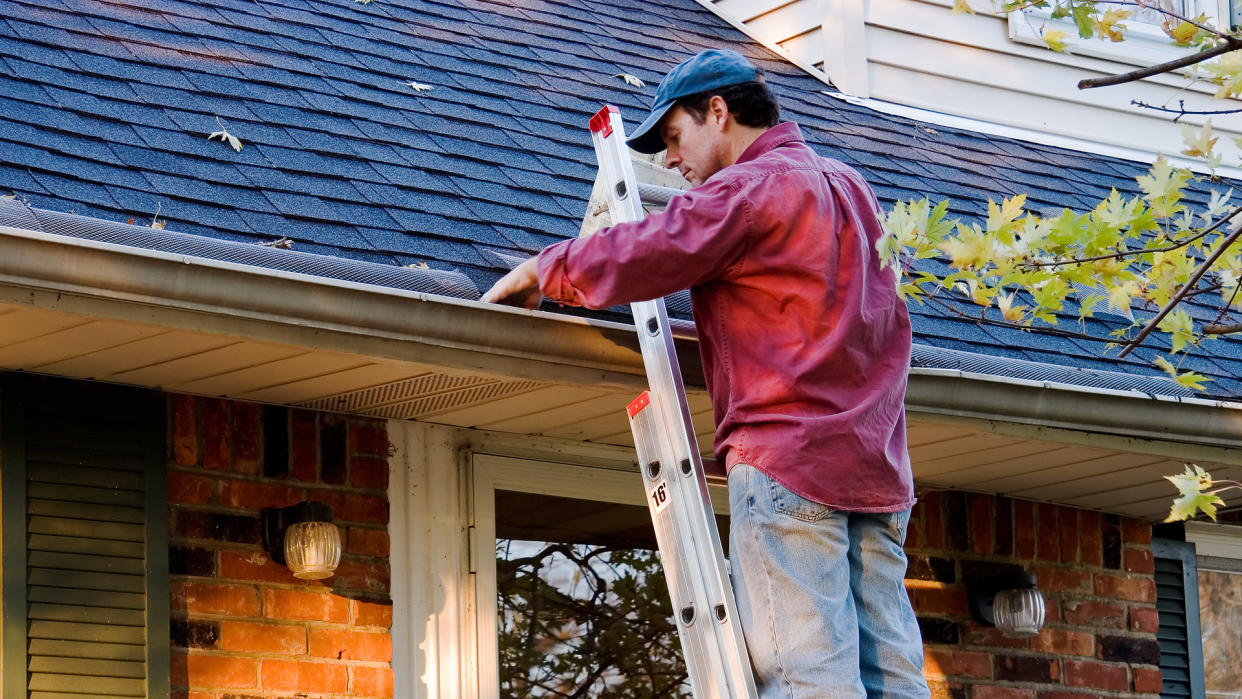
Clean Your Gutters
Icicles are pretty, but the ice dams that they spring from are among the most destructive forces that nature throws at your home’s exterior. When rain and melting snow freeze, thick blocks of heavy ice can form on your home’s eaves, where they can pull down gutters, damage your roof, and cause water damage.
Those are expensive repairs that you’d be wise to avoid. Cleaning your gutters in the fall is a crucial part of winterization because the free flow of water prevents ice dams and all the havoc they cause. It’s a DIYable job, but the same gravitational pull that makes ice dams so destructive also makes ladders incredibly dangerous. If you have the means — $118-$225, according to HomeAdvisor — farm this task out.
Look: 25 Tricks To Sell Your House for a Bigger Profit
Do the Easy Stuff
Even the least handy homeowners with the most precarious finances can still take steps to keep cozy and save money in the winter. Cover any window air conditioner units. You’ll prevent the transfer of air and heat without having to remove the unit, while also protecting your unit from the elements so it will be in good working order come summer. You can get a good one for about $13 on Amazon.
If you’re not ready to take on a weatherstripping project, invest in draft blockers, which cost about as much as AC covers. They prevent under-door heat and air transfer from the outside to the inside and from heated interior rooms to unheated rooms.
Finally, reverse the direction of your ceiling fans — there’s a little switch somewhere by the controls. In the summer, ceiling fans push warm air up and away from the floor. In the winter, switching the blades’ direction pushes the warm air that rises to the ceiling back down into the room. You’ll feel warmer and be able to turn down your thermostat.
More From GOBankingRates
Find Out Who Made GOBankingRates’ Best Credit Cards Lists and Get Helpful Tips
NEW POLL: How Much Will You Spend Over the Holidays Relative to Last Year?
Last updated: Oct. 28, 2021
This article originally appeared on GOBankingRates.com: 5 Ways To Winterize Your Home

